| Home | Videos | Blog | Forum | Downloads | Contact us |
| Part number | Quantity | Description of part |
|---|---|---|
| x | 1 | frame previously assembled |
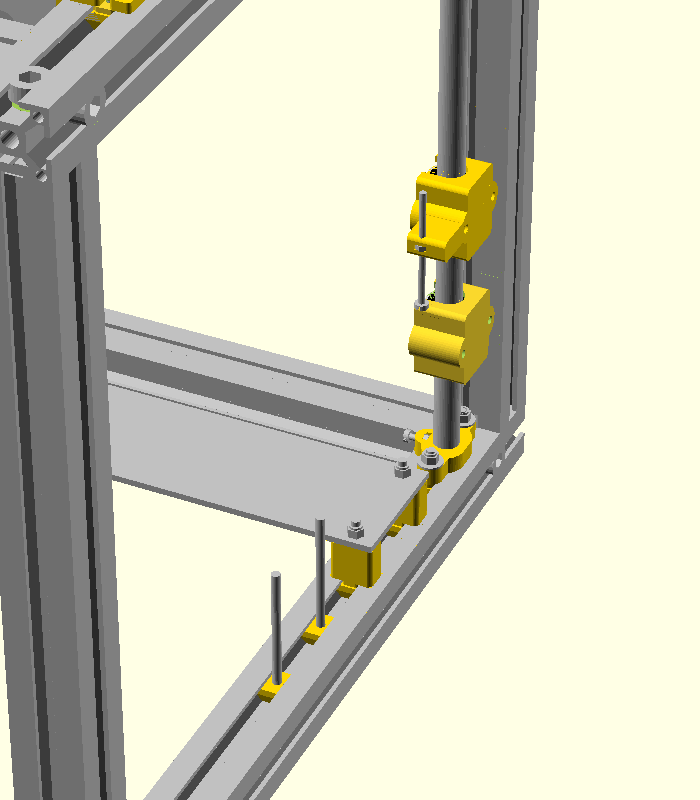
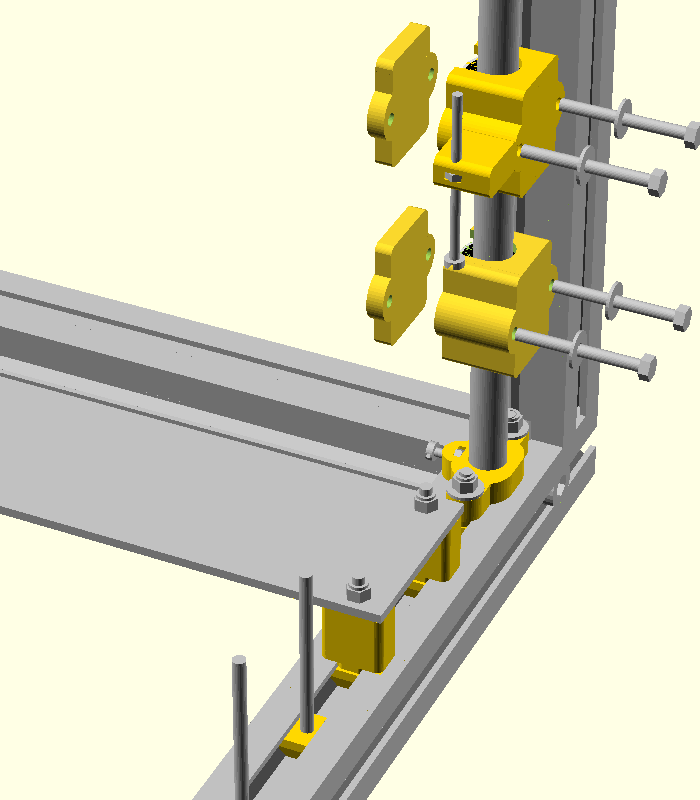
| x | 3 | lm12uu bearing housings |
| x | 1 | lm12uu bearing housing with screw |
| Part number | Quantity | Description of part |
|---|---|---|
| x | 1 | frame previously assembled |
| x | 4 | Z spacers |
| x | 8 | M4x50 hexa screws |
| x | 8 | 4.3x12 washers |
Insert the Y axis into frame and push the M4x50 screws.
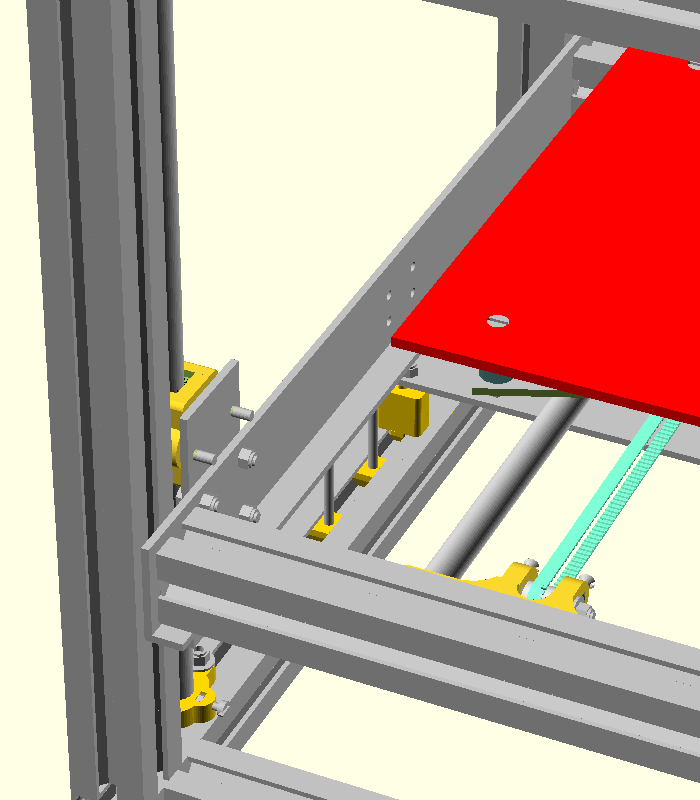
Use M4 nuts to secure the Y axis.

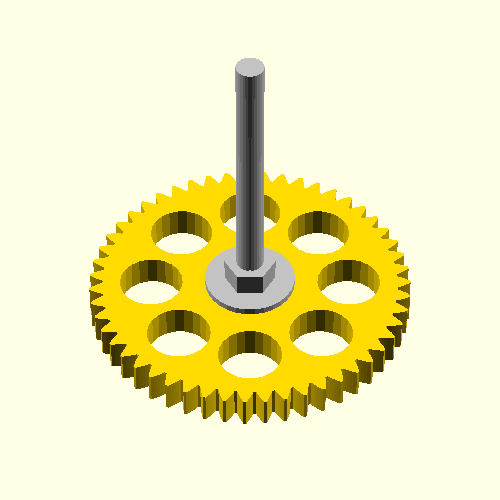
Take the large extruder wheel, a long M6 hexa screw, a large washer and a M6 nut.
Tight the nut until the head of the screw enters completely in the heart of the extruder wheel.

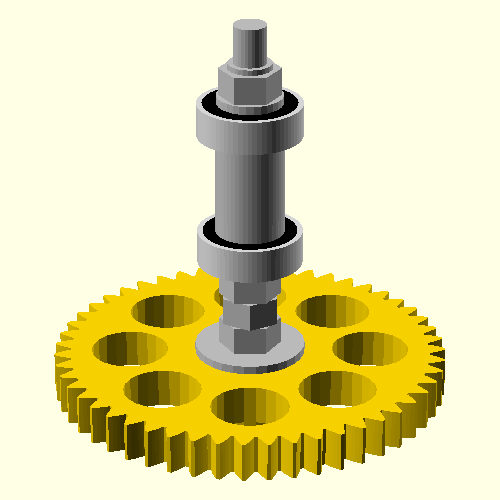
Screw the following components on the long M6 screw: 2 M6 nuts, 1 washer, 1 radial bearing, 1 hobbed bolt, 1 radial bearing, 1 washer, 1 M6 autolock nut.
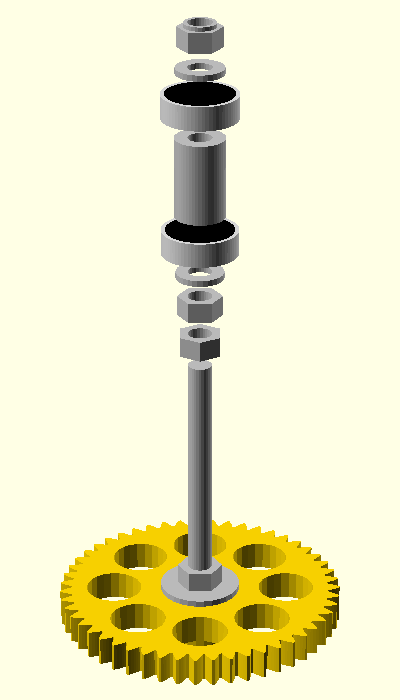
You should obtain something like this:
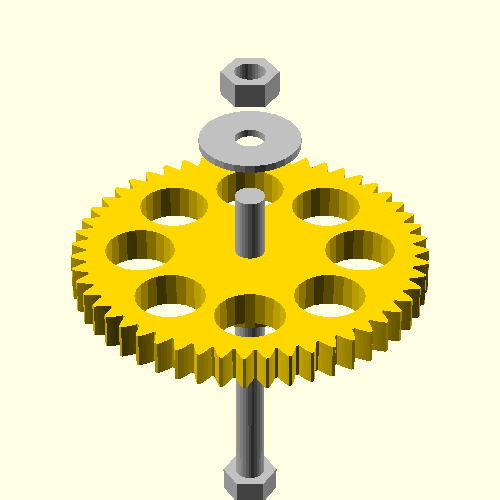
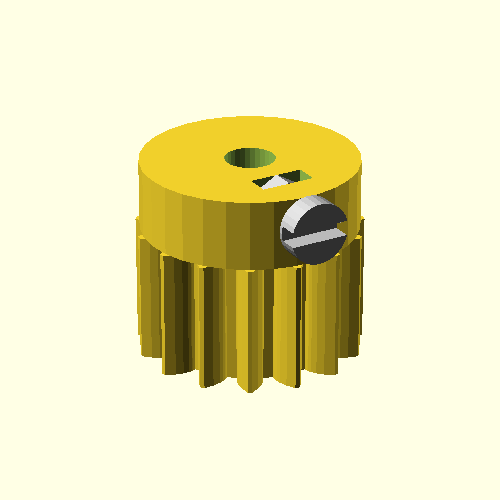
Prepare the motor gear. You need an M3 nut and an M3x10 screw. First insert the nut and then the screw. Take care so that the nut will not rotate in the plastic part.
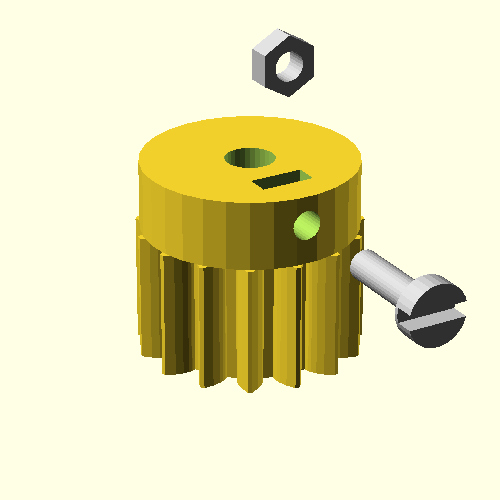
The assembled gear should look like this:
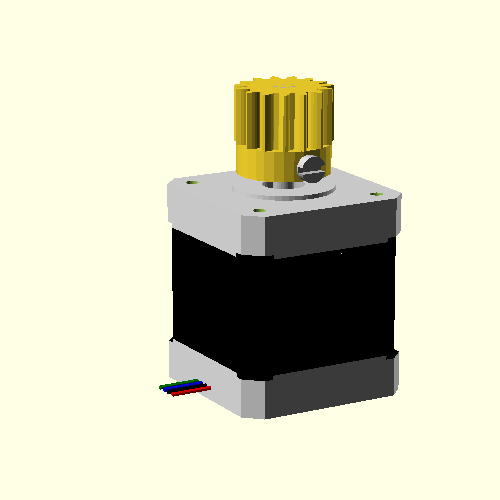
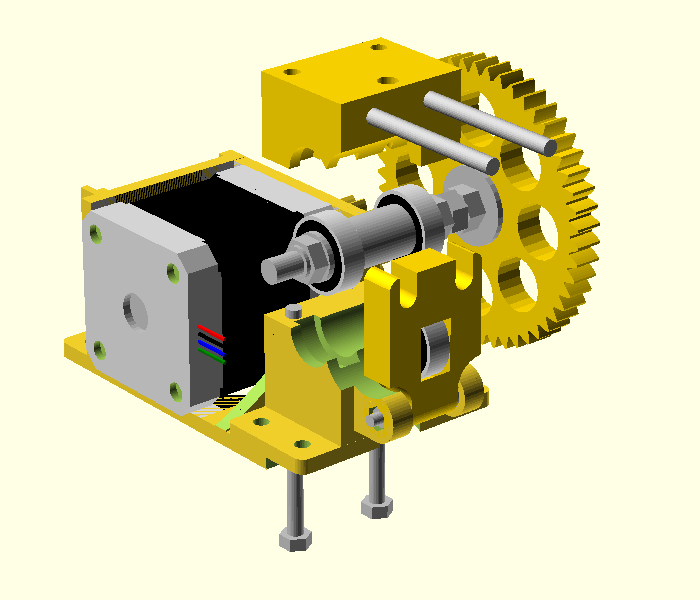
Take a motor and the previously prepared gear and assemble them.

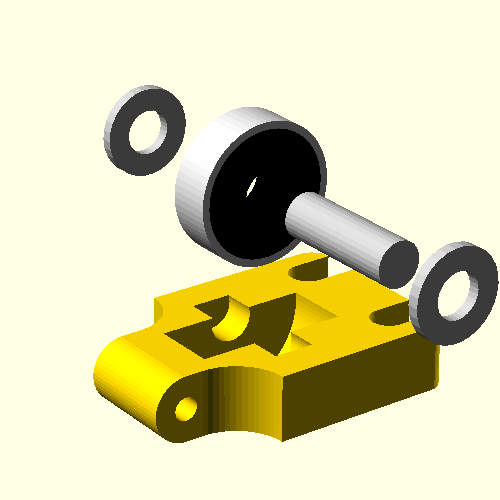
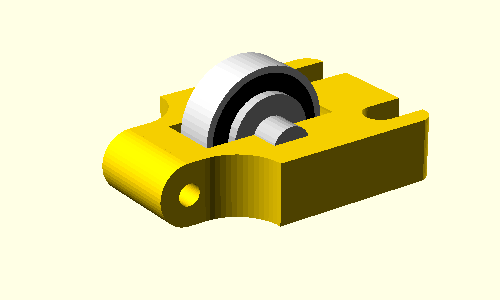
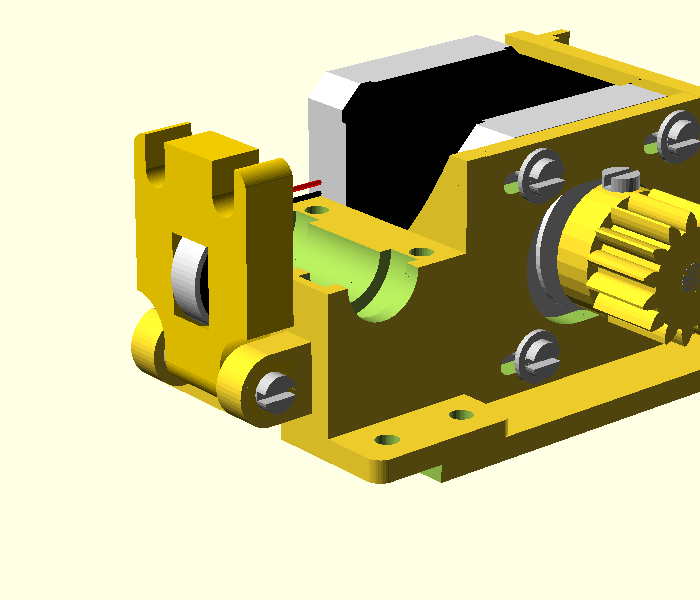
Prepare the plastic pusher. You need the plastic part, one 626 ridial bearing, 2 washers and a 6mm diameter shaft.
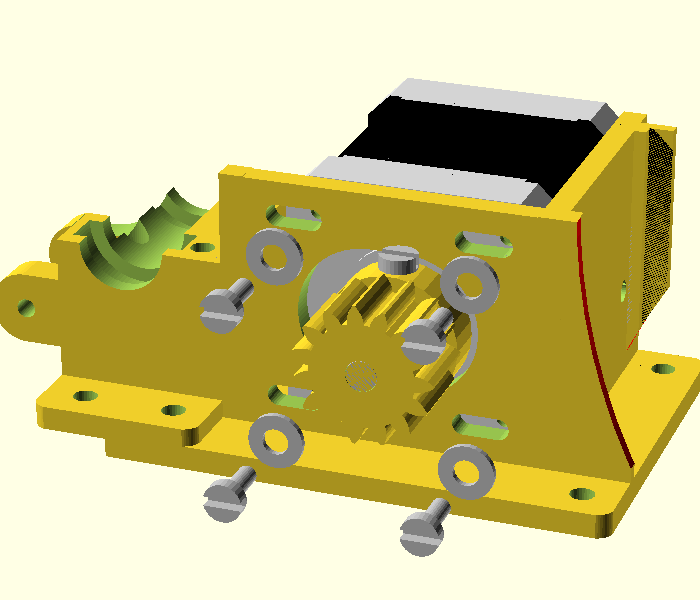
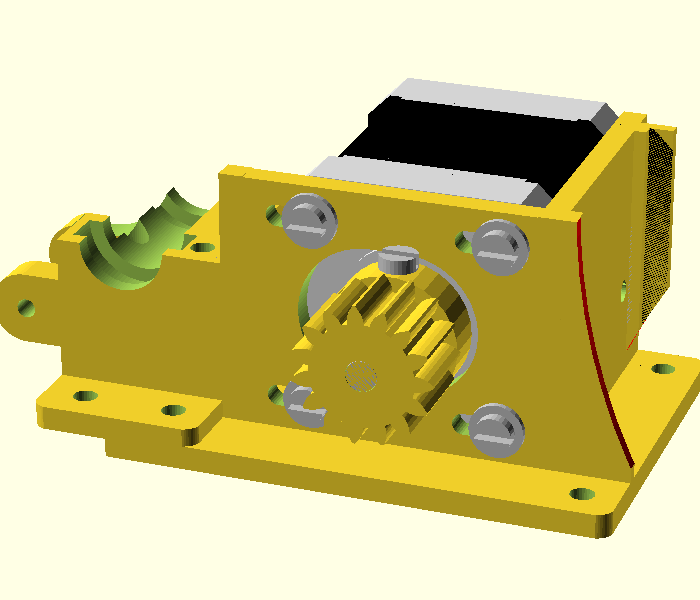
Insert the motor in the extruder base. You also need 4 washers and 4 M3x10 screws.Do not tight the screws very well ... this will be done after you insert the hobbed bolt too. Please also note in the below figures the position of the motor cables.
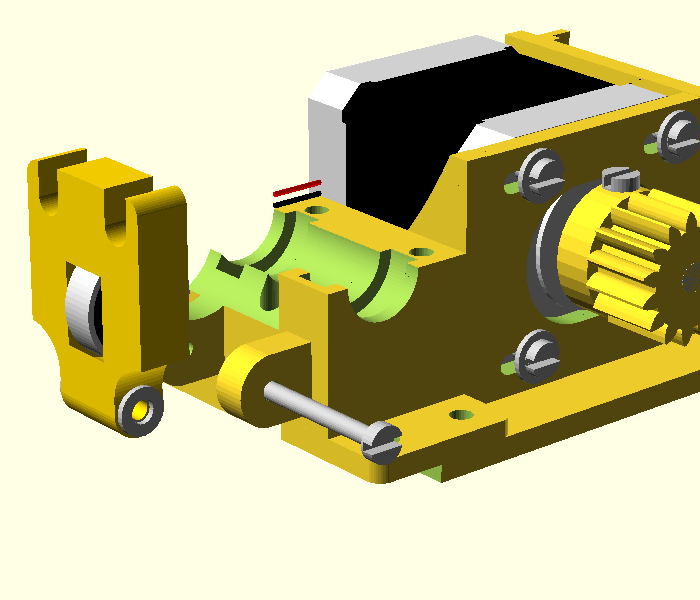
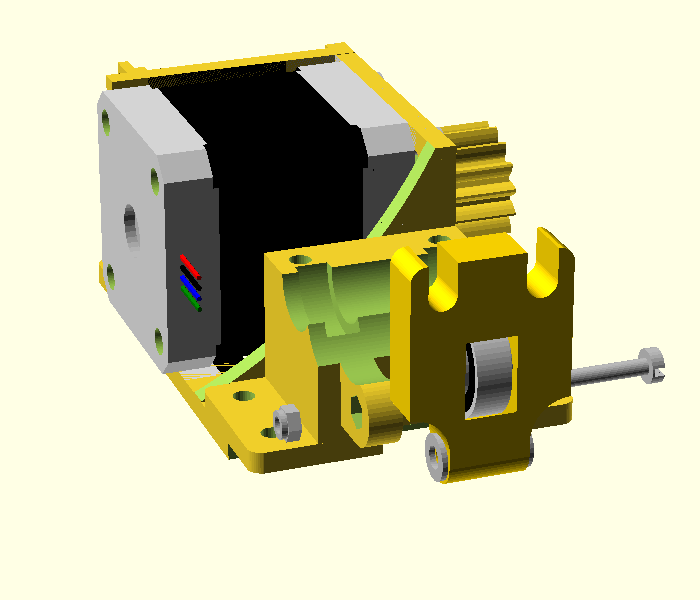
Attach the plastic pusher to the extruder base. For this operation you need a long M3x40 screw, 2 washers and 1 autolock M3 screw.
Take 2 M4x65 nuts and the extruder top housing and assemble them.
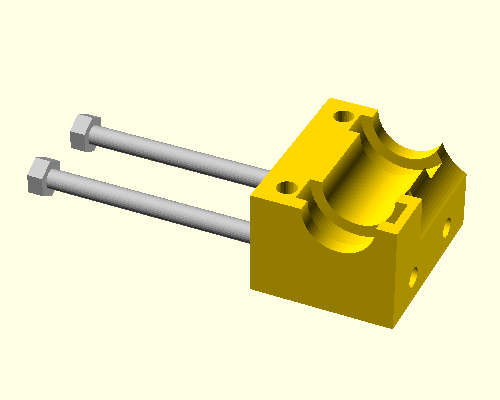
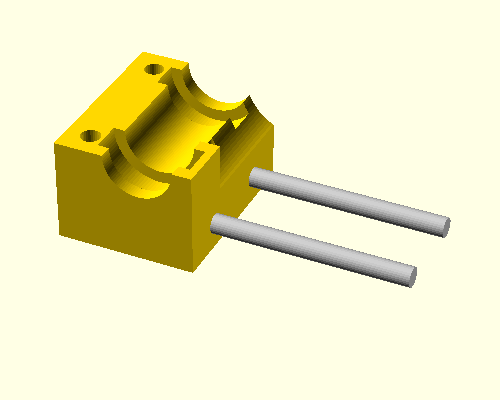
Take 2 M4x50 screws and insert them in the base. Then put the hobbed bolt and then the top housing.
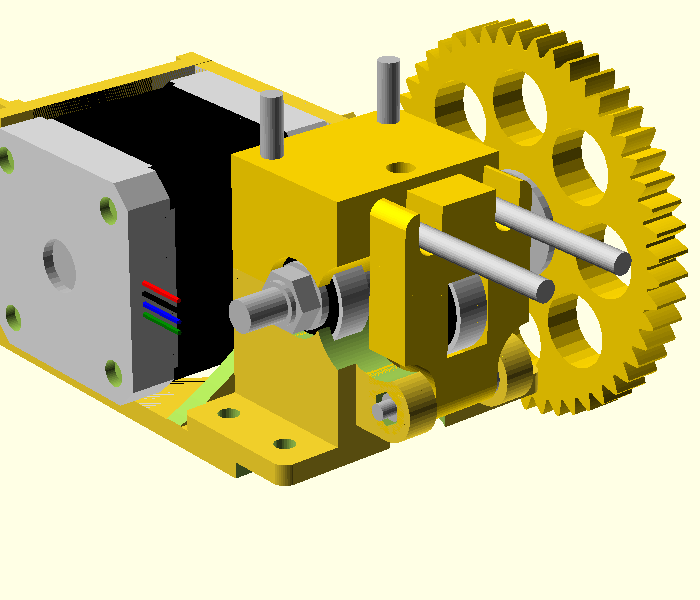
Now take 2 washers and 2 M4 autolock nuts and tight them.
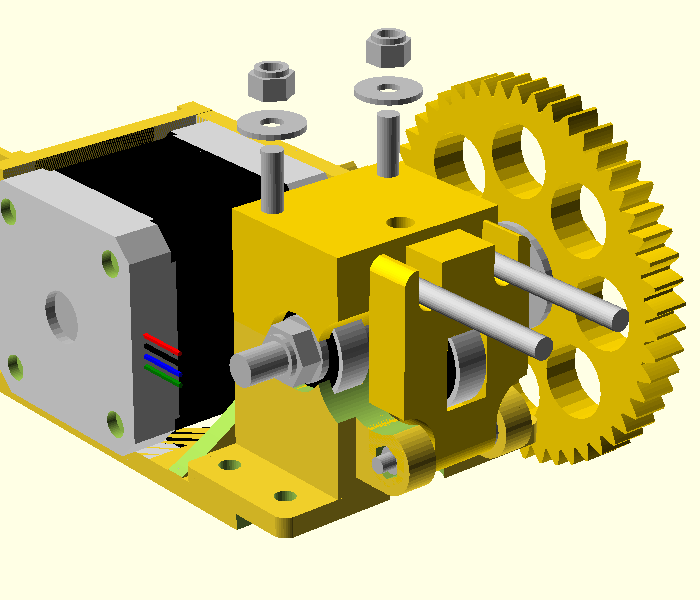
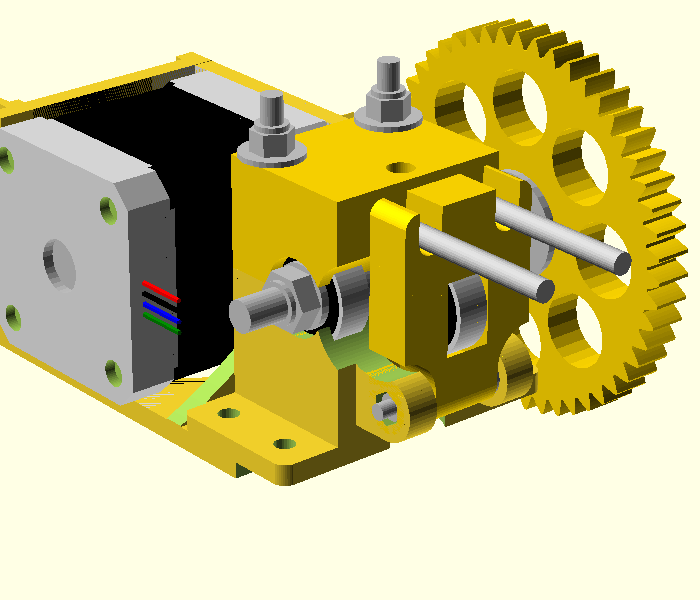
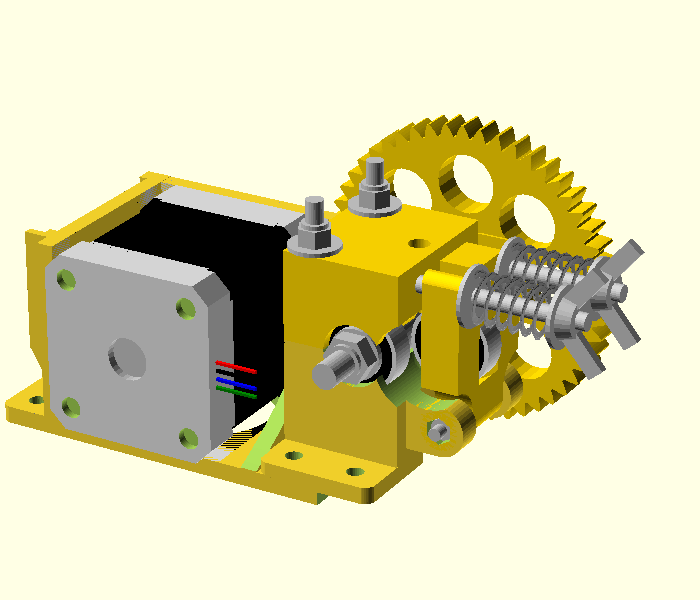
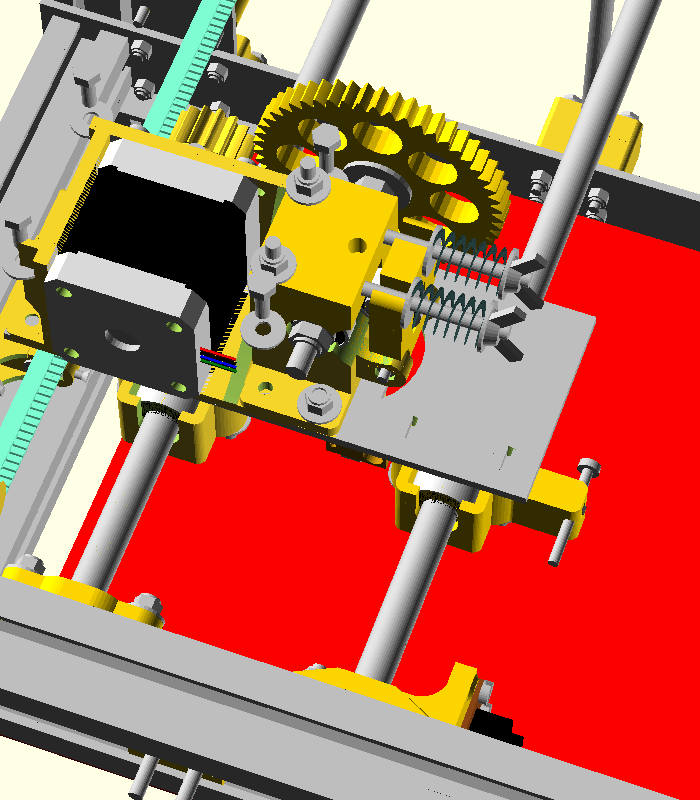
Now you need to put some pressure on the filament pusher. For this purpose you need 2 washers, 2 springs, 2 washers and finally 2 wing nuts.

Tight the wing nuts, but not very strong. The actual pressure will be set when you start printing.
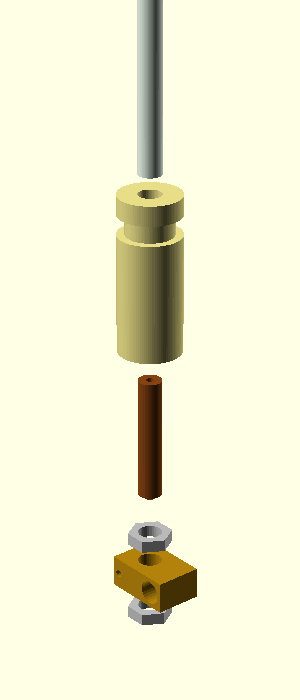
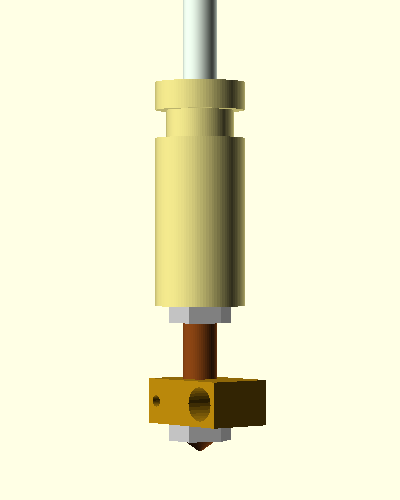
The following parts are needed: a (partially) threaded PTFE tube, a PEEK, a brass tube, 2 M6 slim nuts, and a heater block. Assemble them as in the figure below.
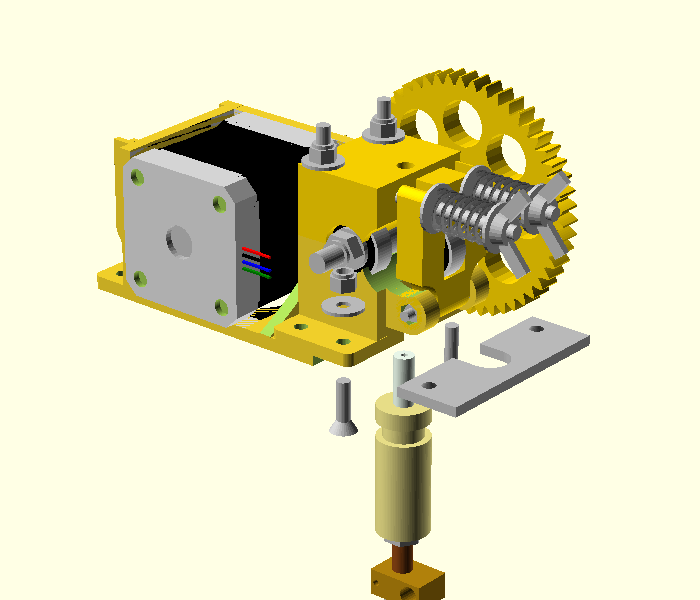
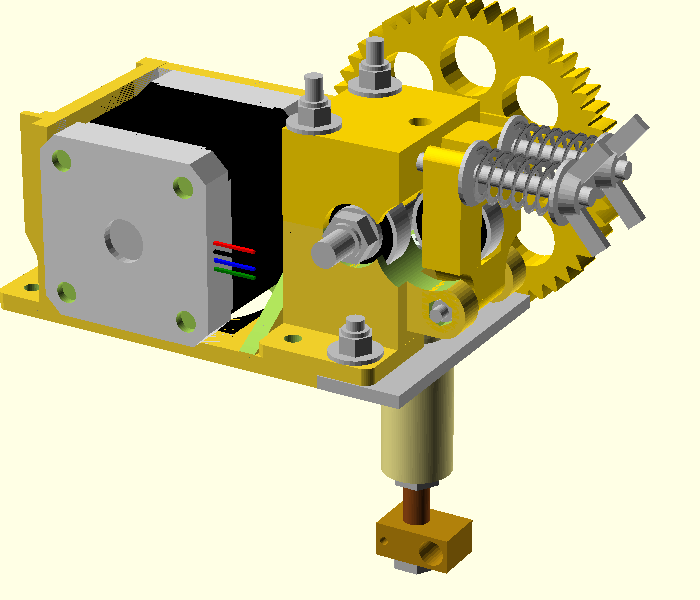
Now put the hotend in the extruder.
Place the extruder on the X carriage
Tight the screws.
